Category Archives: Art

Frosted Glass – Cheating

Let’s take frugal to a whole new level. As poor as us college kids are, we somehow always manage to scrounge up a few bucks for a bottle of wine or similar, yeah? yeah….

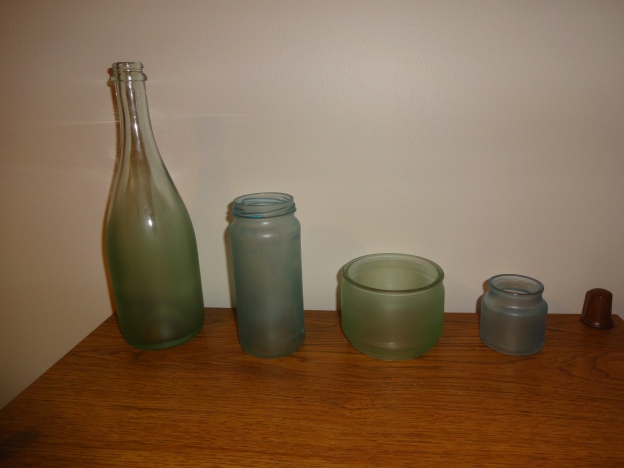
So lets take our now empty glass bottles and make them frosted! Cheap decoration for a small apartment or dorm room, and no one could guess how you did it either.

Hopefully the label of your bottle comes of easily and clean. Otherwise either soak it in hot soapy water or water+baking soda. Label should be fairly easy to remove then.

When your bottle is clean and dry, find yourself some Elmer’s Glue. Yup. Elmer’s Glue. Also, you’ll need food coloring, and disposable container (I used an empty gum container, how cheap am I? haha) and a foam paint brush.
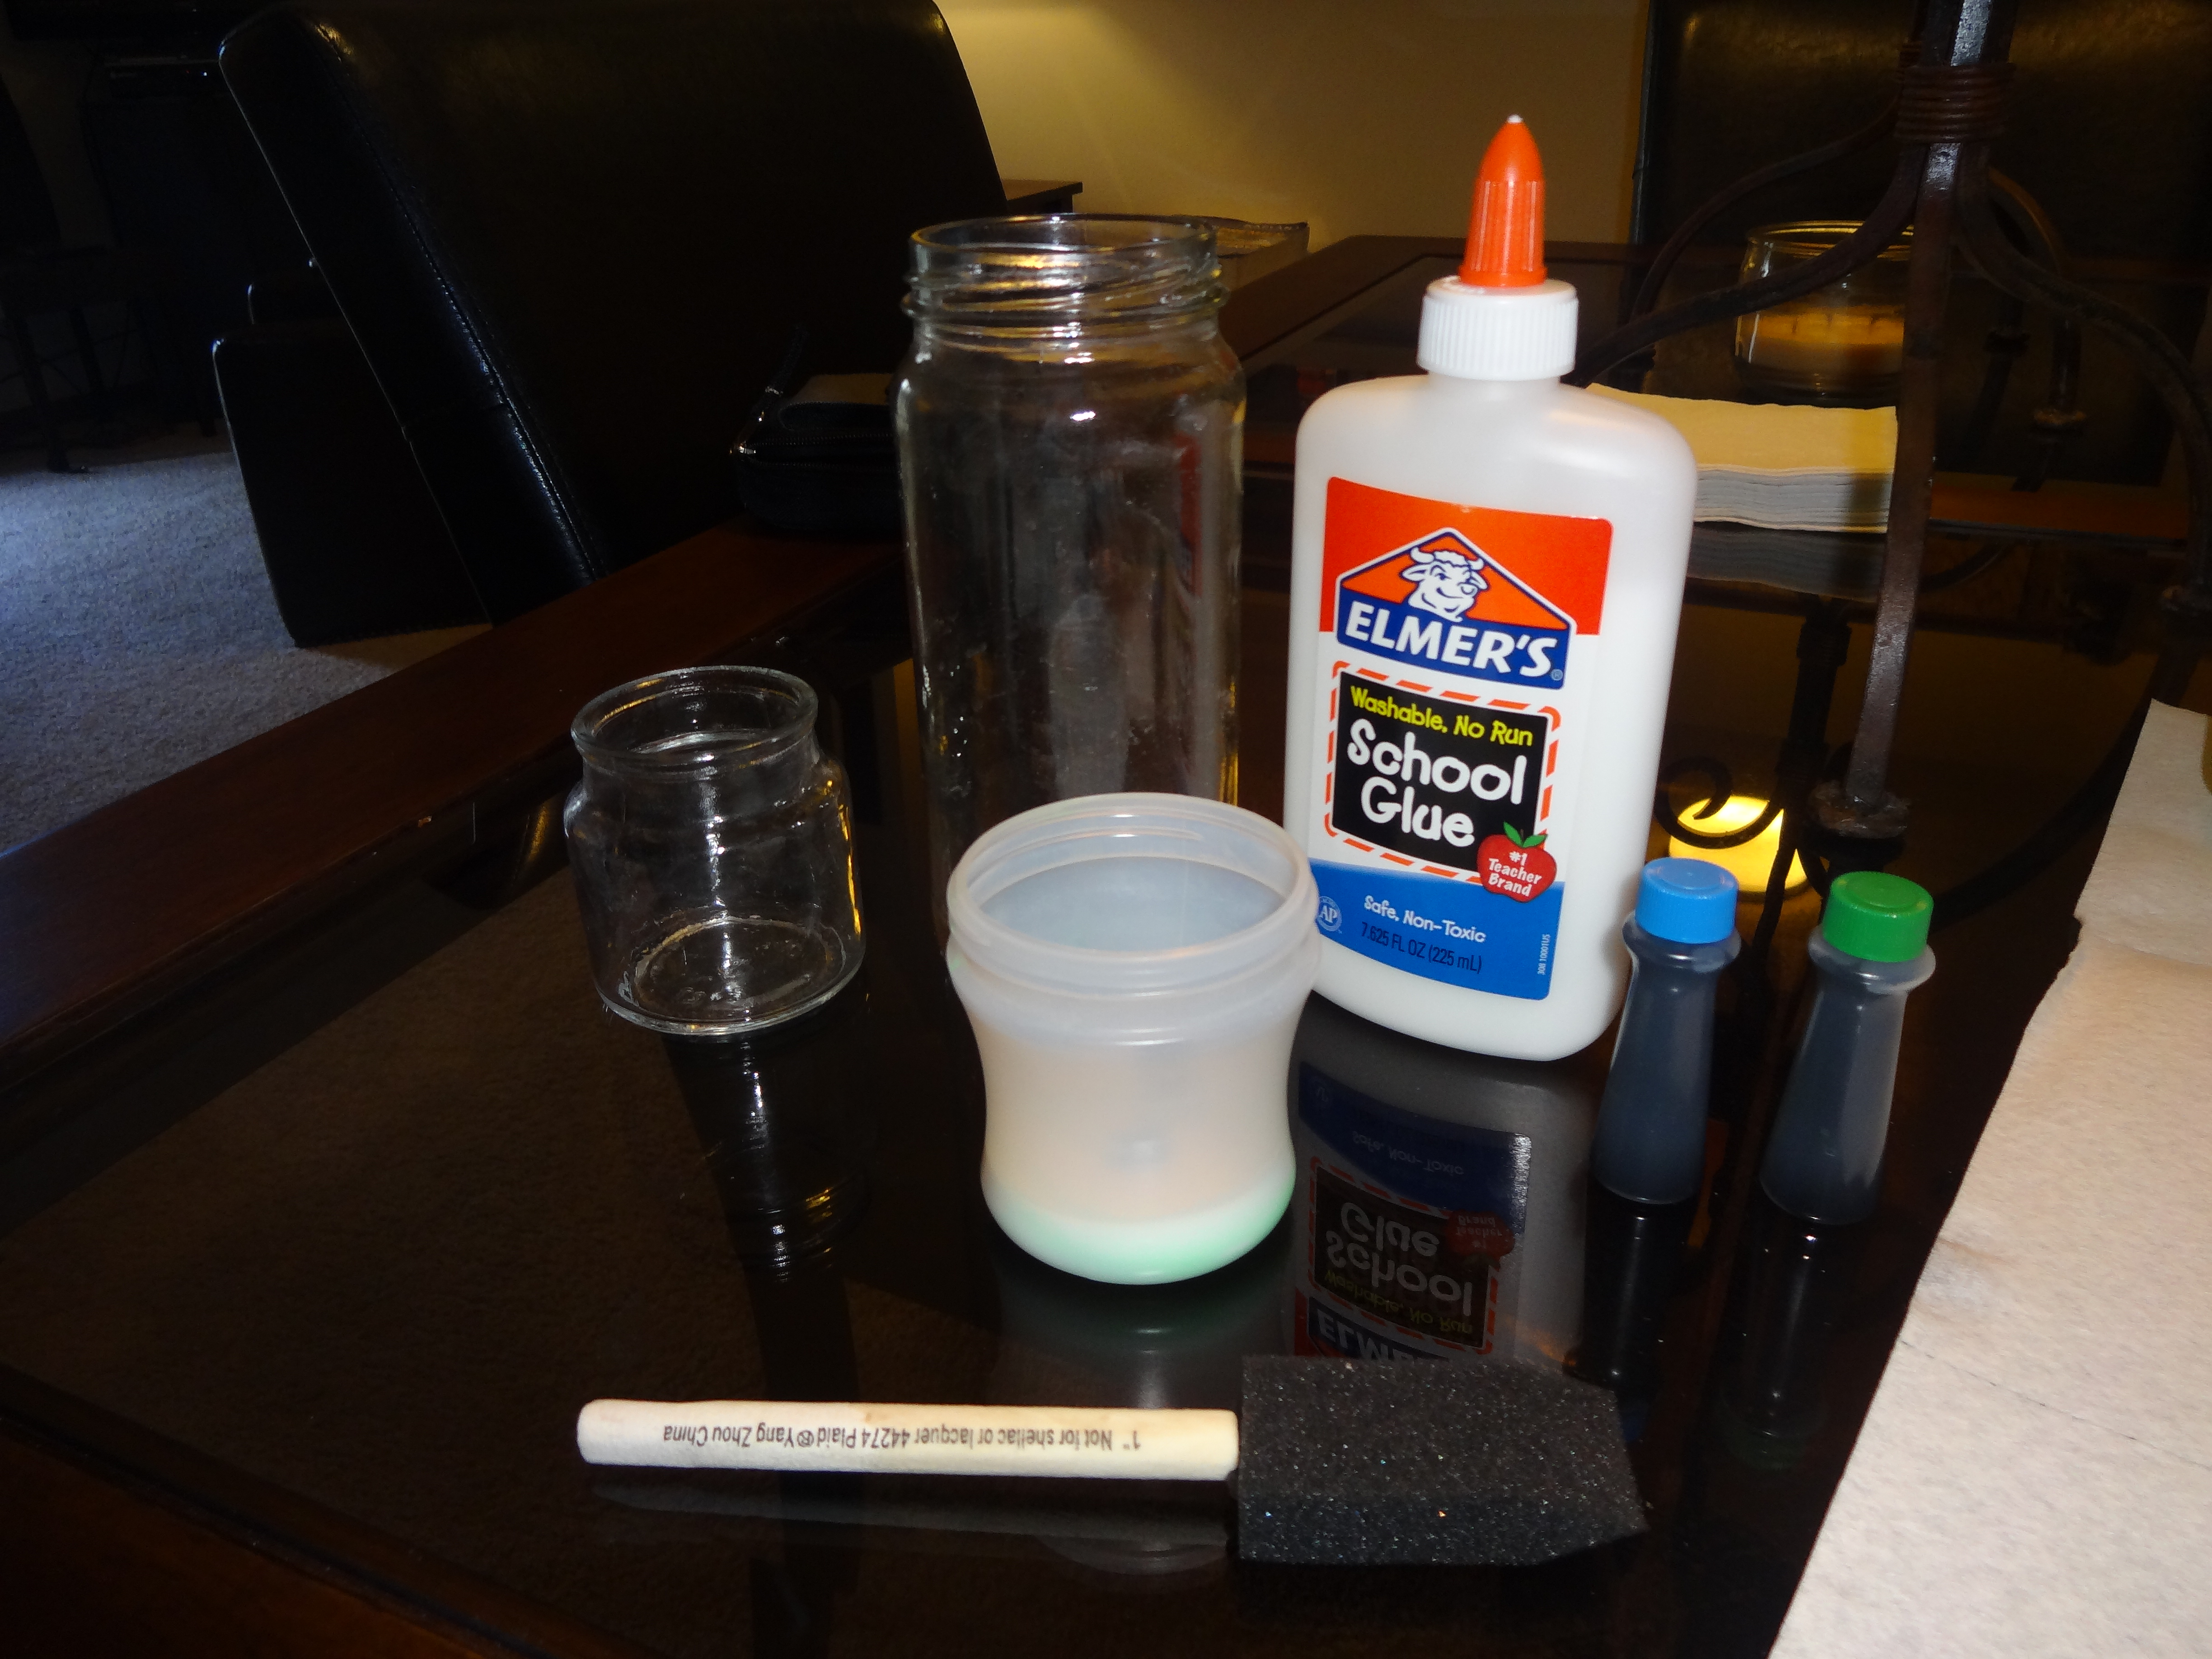
All you need!

All you need!

This is so incredibly easy its seems so stupid that I haven’t been doing this for years.

003

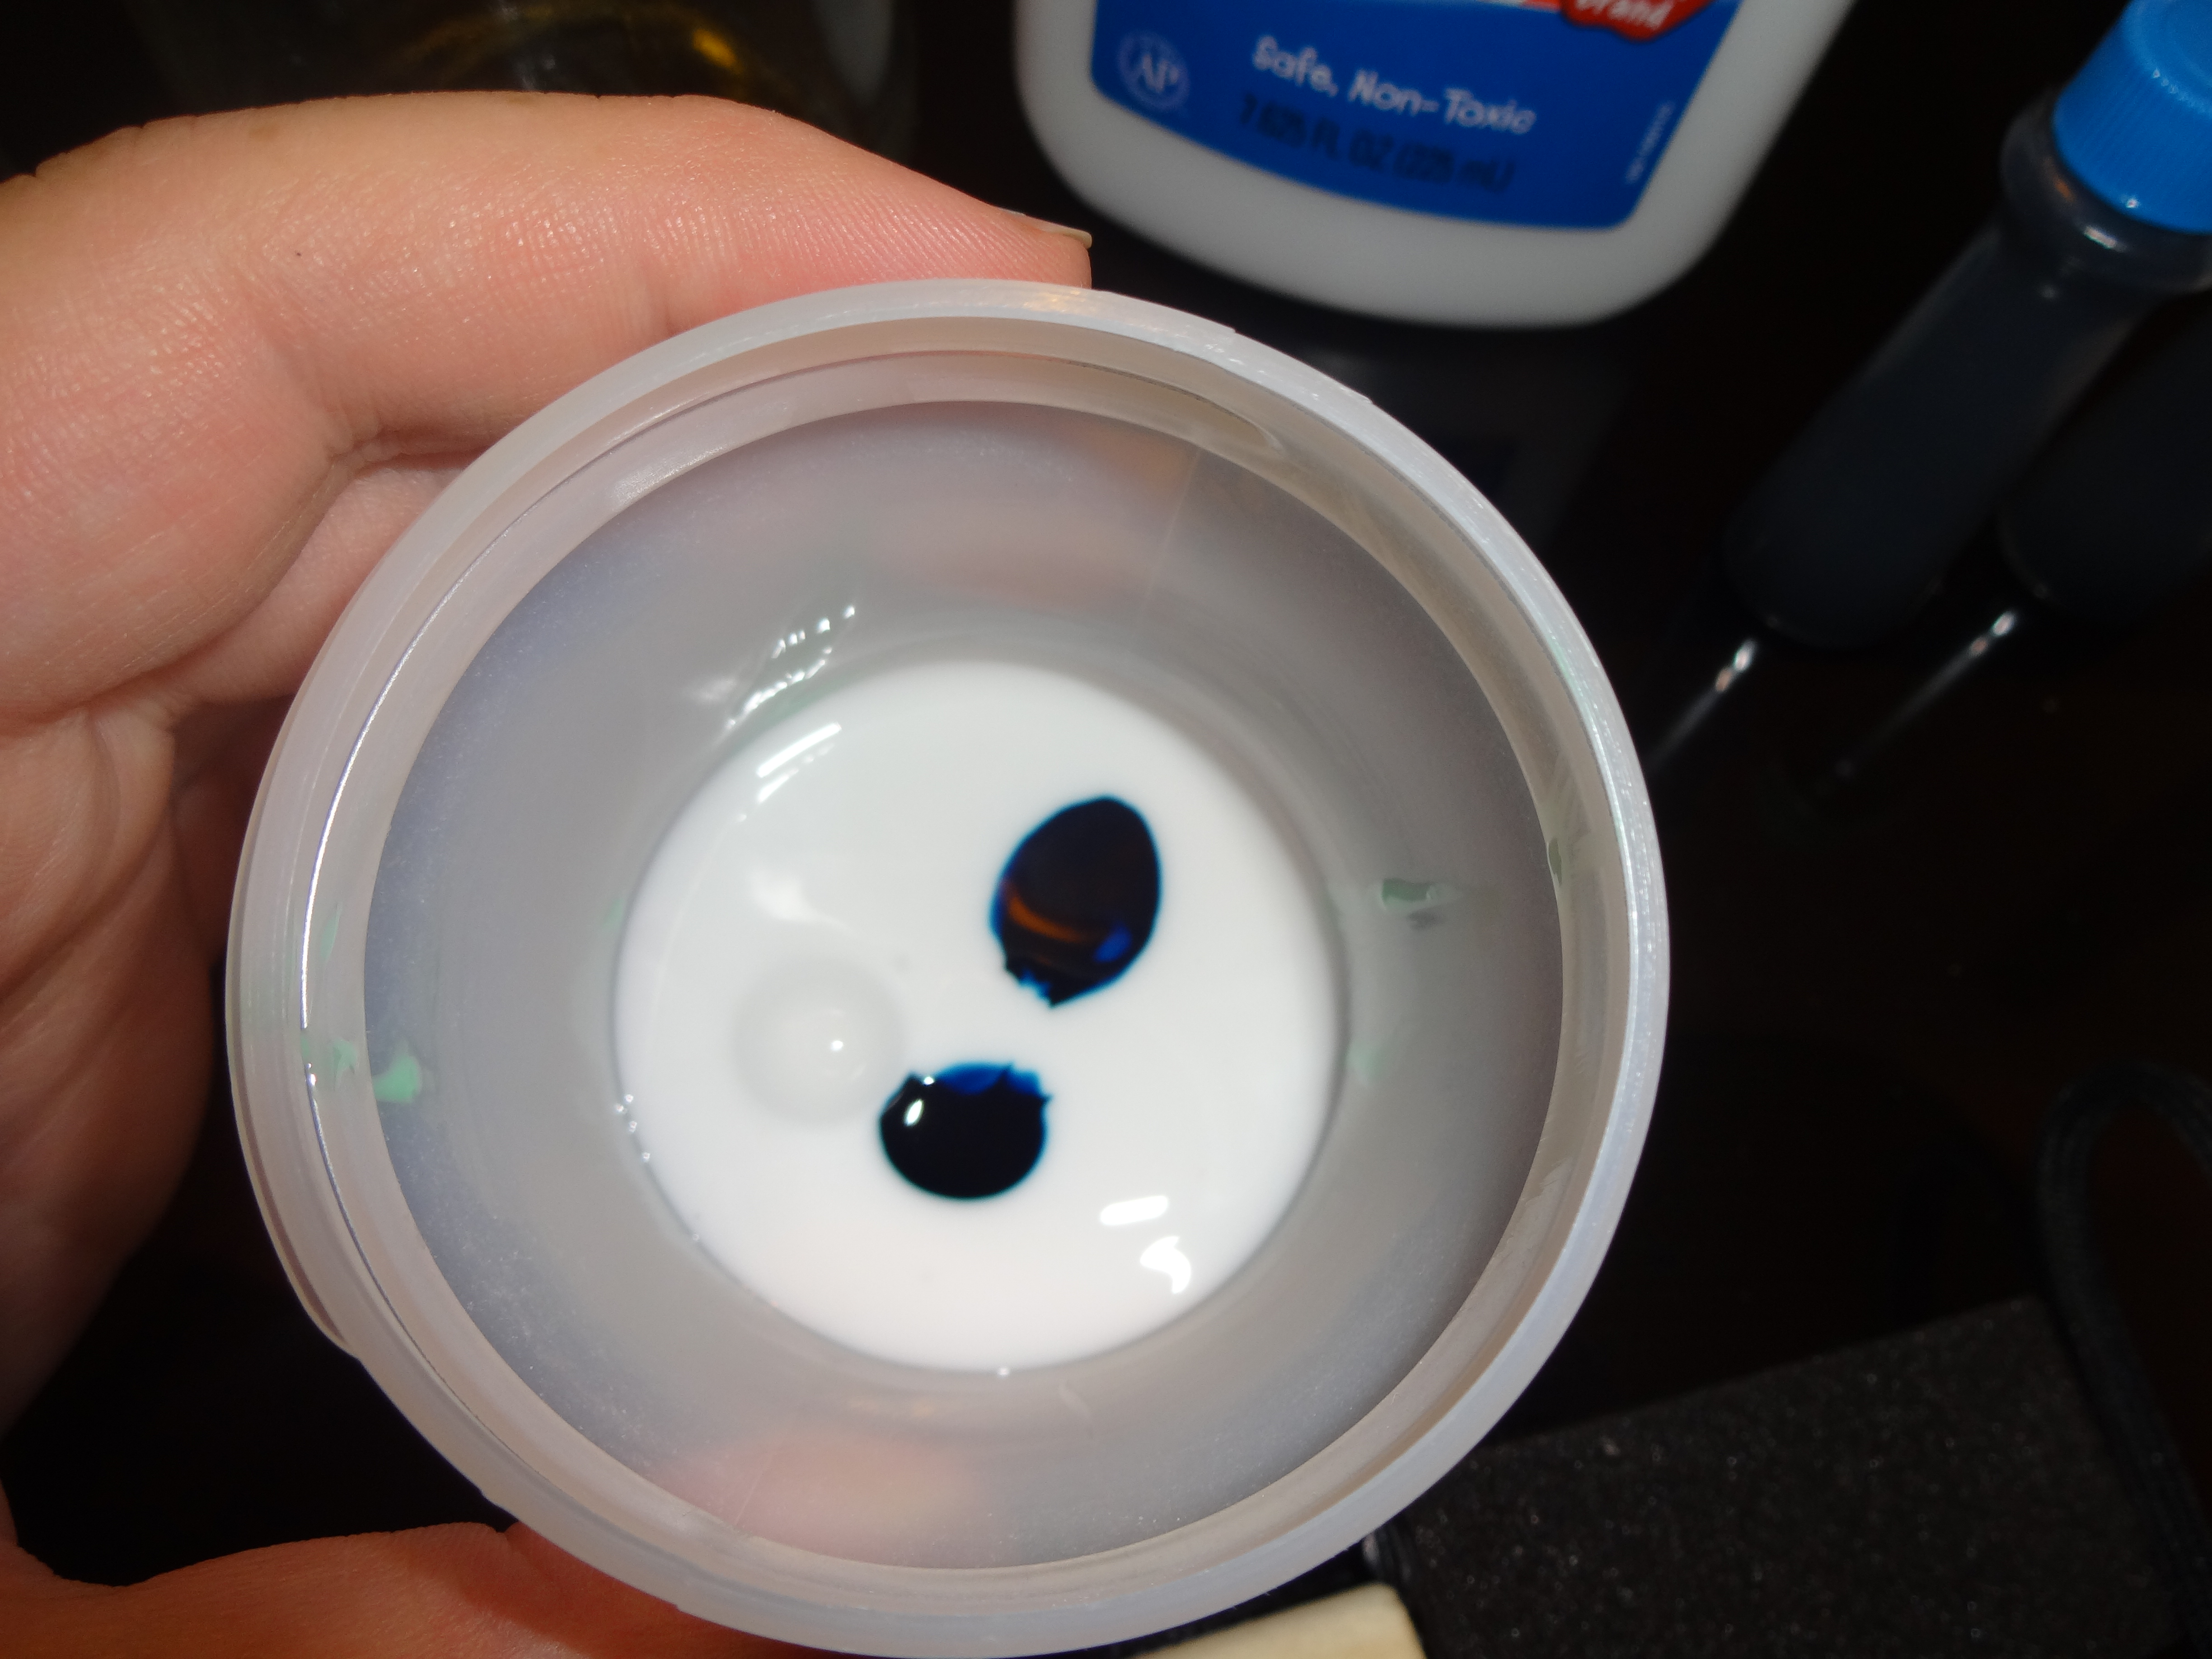
Dump maybe 1/4 c of glue in your container and add 2-3 drops of food coloring of your choice. Mix well.

Apply the colored glue as even as you can manage to your glass.

All glued.. er.. painted up!

All glued.. er.. painted up!

Allow to set until all the glue is completely dry. You’ll notice its now complete uniform! (In order to get this effect, be careful not to leave thick streaks anywhere, spread that stuff around!)

Almost there!

Almost there!

There you have it! DIY Frosted Glass Decor!

006

Origami Owl Living Lockets

So some of you may have seen my post a couple weeks ago about the Origami Owl Lockets? Well I’m super excited because I got mine in the mail yesterday and I LOVE it!

005 007

Aren’t they awesome?!?!!

If you didn’t see my post before, here’s the scoop on these awesome little gems:

My sister, Amanda, just joined this amazing company called Origami Owl. It was started by a 14 year old girl, who started her own business to save money for a car. Well her business exploded (in a good way) and now here it is!

Amanda is an independent designer for Origami Owl. She’ll help you design and customize jewelry that is reflective of your life and personality and all the things you love. These lockets are AWESOME! If you’re not into the locket style, there’s also a tag collection as well.

The lockets are offered in silver, gold, and rose gold, and there are SOOOOOO many ways they can be customized. They have something for everyone.

I chose a silver locket and chain, with a rose gold plate that says “Believe” and a smaller silver plate that says “Love”. These describe how I want to live my life.

Given the name of my blog, the 4-leaf clover and the “Good Luck” tag are obvious. Music is a HUGE part of my life, hence the eighth notes. And playing pool has become a pretty strong bond between Matt and I, so the eight ball kind of represents our love.

They are beautiful.

If you’re interested, either visit my sister’s website, or check out her facebook page:

www.amandakerns.origamiowl.com

https://www.facebook.com/pages/Origami-Owl-Amanda-Kerns-Independent-Designer/334811569962251

DIY Jewelry Hanging Doohicky

Jewelry Hanging Doohicky

Yes, Jewelry Hanging Doohicky.

I literally sat here for 10 minutes trying to come up with a different name for it and my mind just blanked.

Anyways, this was great. Super easy and CHEAP and quick.

The supplies:

013 014

97 cent curtain rod from Walmart


009015

A main color and subcolor spray paint. (couple bucks each)


016

Decorative Shower Curtain Hooks (about $1 or so)

The first thing I did was spray paint the whole curtain rod with the metallic gold paint.

Then I taped off the design. Had I actually thought this through I would have used yarn or ribbon or painters tape of some kind. I was ill-prepared so I used paper that I had to cut into very thin strips and tape around the curtain rod. Yeah… It was tedious. But hey, it worked!

Tape it off!

Tape it off!

Then spray over your rod again, this time with the main color. In my case, it was gloss black.

Spray it again!

Spray it again!

Let it dry for about 10 minutes or so. You don’t want to wait too long or else you’ll risk peeling the paint when you remove the tape.

018 017


Voila!

Perdy right??

Next I mounted it on the wall in my bathroom. (The curtain rods I bought had mounting hardware included). Then I hung the shower curtain hooks:

020 019


Sorry for the crappy pictures. My camera got sand in the lens during vacation and is jammed, and my phone doesn’t take the best pictures…

Now I was ready for the jewelry!

Jewelry Hanging Doohicky


There you have it! Took no time at all!


Fairy Dream Jar

So this is an idea I got from Pinterest. By the way, I LOVE Pinterest! Seriously, I could spend hours on there… and I do…

But anyways, my niece’s birthday was coming up and I wanted to do something special. Those kids have EVERYTHING so I couldn’t think of what to buy that would mean something so I wanted to do something she’d remember.

On Pinterest someone had posted glow-in-the-dark mason jars. They were super cute! The poster had simply dotted the inside of a plain smooth mason jar with glow in the dark paint. It. looked. magical!

My niece just turned 6 and she is SUPER into fairies. Obsessed with Tinkerbell. SO I thought it’d be cute to do something along those lines. So for her birthday she got her very own dream fairy.

003

I found several different colors of glow-in-the-dark paint and spent FOREVER putting a bajillion dots on the inside of the jar with a small paint brush. Then as you can see I decorated it up a bit.

I included a note from her fairy, explaining the dream jar and how it worked. Long story short, she had her very own fairy who looked after her. She would keep her magic jar on her window sill where all day long it would absorb sunlight. Before she went to bed each night, she would write on a piece of “dream paper” what she wanted to dream about that night. When she turns out the lights, the fairy dream jar glows in the dark, showing that her fairy is working her magic and helping her have good dreams.

001 002

This was also great, because it helps her practice her writing!

And of course I had to come up with a cool name for her fairy. After much pondering and debating my mother helped me settle on Starlight.

Easy DIY gift for a little girl!