So if you were raised a country kid like me, apartment living in the city can be absolutely unbearable. When you’re use to fresh garden vegetables, supermarket produce sucks.
If you’re lucky enough to get a ground level apartment, most of them have some sort of little concrete slab they call a patio.
This summer Matt and I had our first patio garden, and it’s been AWESOME! I mooched 5 flower pots from mom and dad, some small wooden posts, and some hog wire.
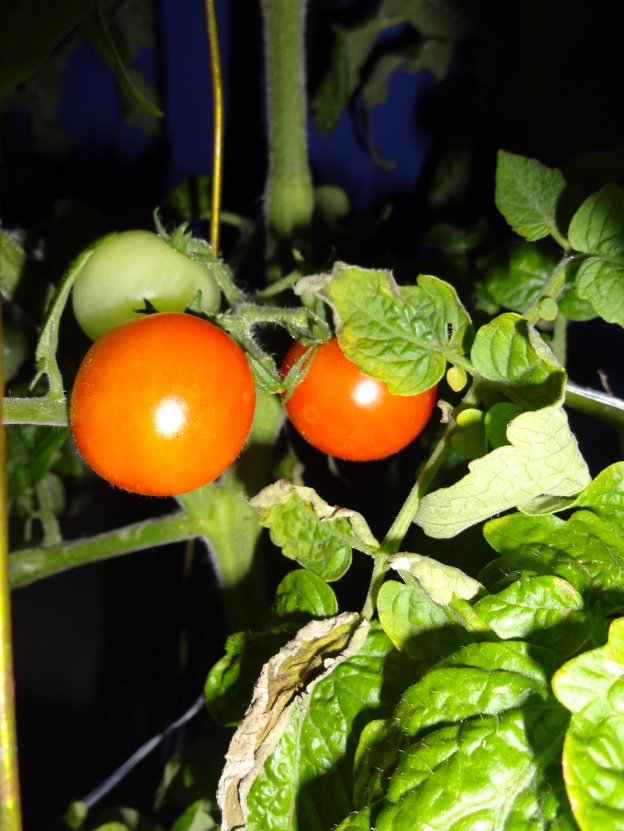
We decided to do Green Peppers, Cherries Tomatoes, Chives, Basil, and Sugar Snap Peas.
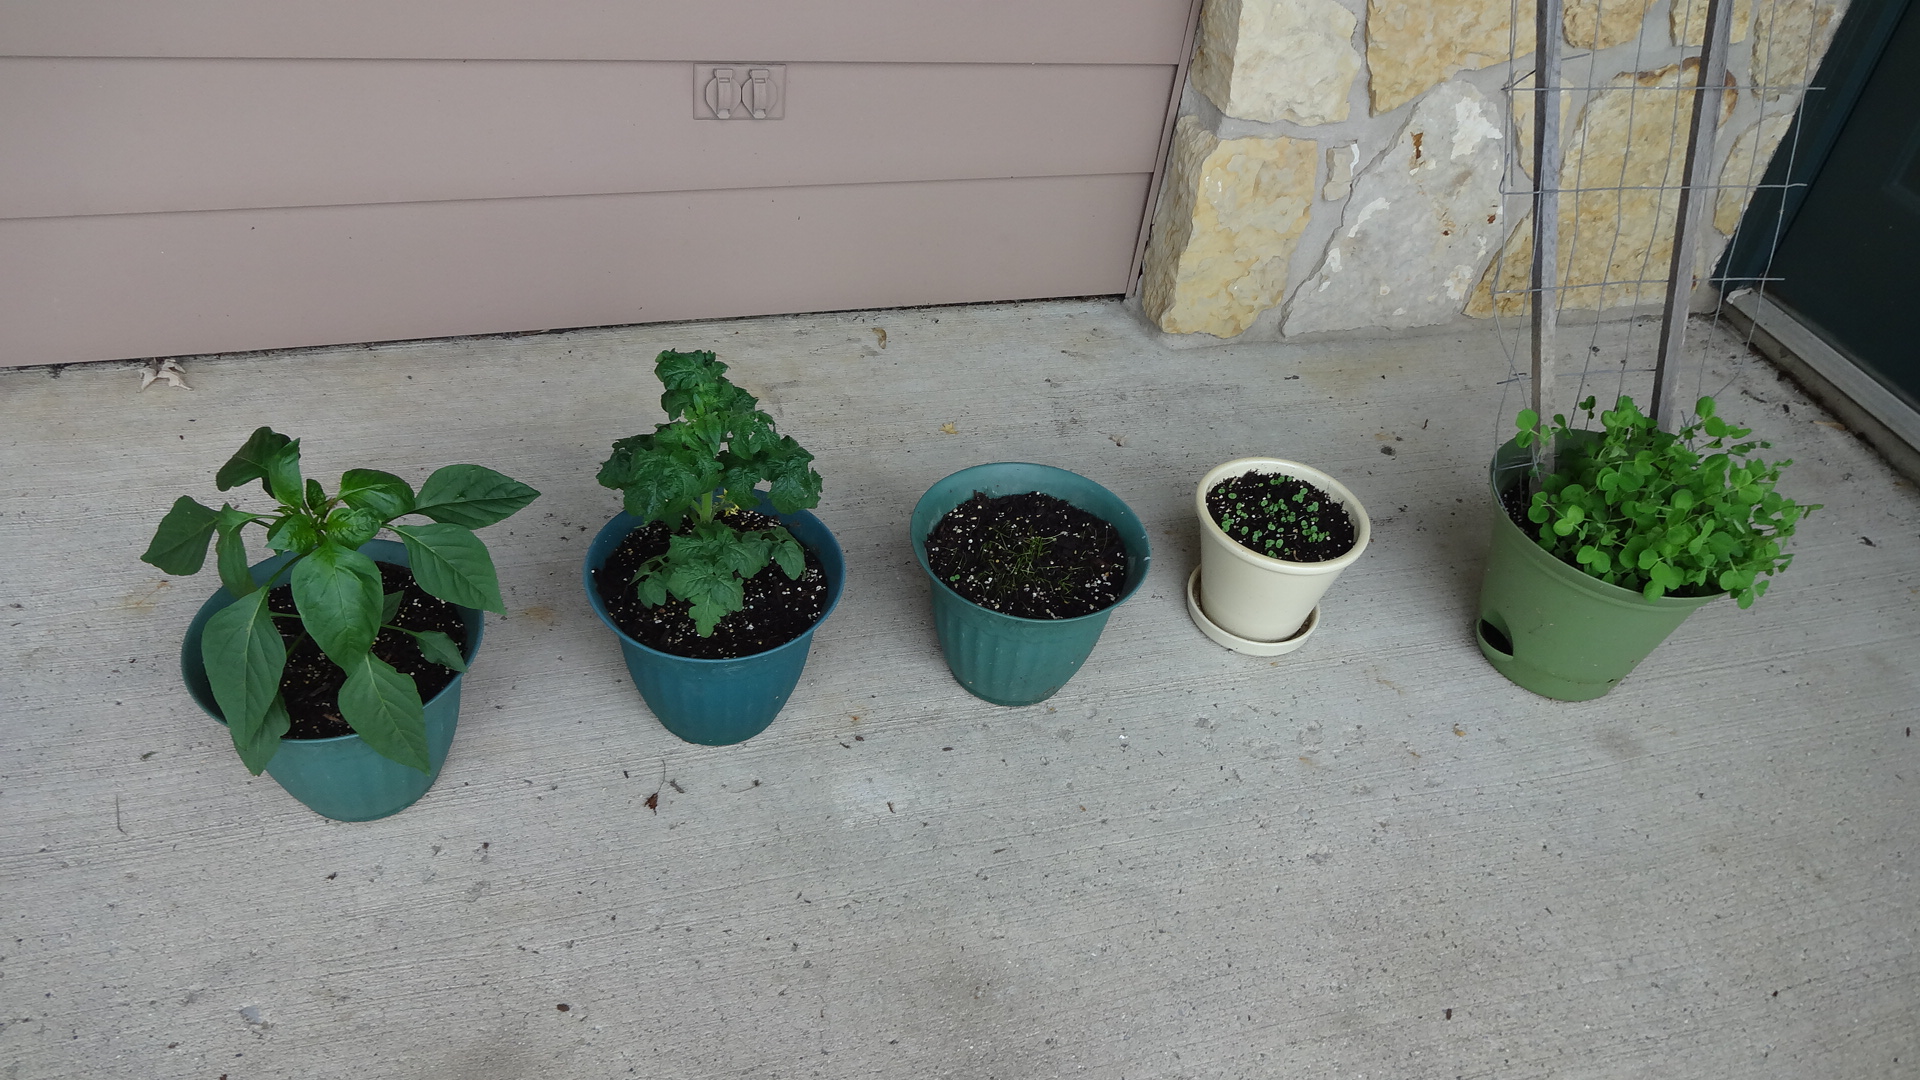
Fairly early on. The snap peas had been up for about a week, and the basil and chives had just sprouted
Tip: drop a couple big-ish slabs of rock into the bottom of each pot to help with draining.
Plant according to seed packet. Vine plants, like snap peas need something to climb, which is where the posts and hog wire come into play. (See Picture)
We had an 80% success rate! The peppers did fantastic. The first pepper we got was eaten by chipmunks, the dirty rat bastards. But then we got 2 enormous peppers! These things were huge, especially for container plants. I made some awesome stuffed peppers with them, and thought the plant was pretty much done. However, with this weird weather the plant rebloomed and is totally full of peppers right now! IN MID-SEPTEMBER!

Peppers!
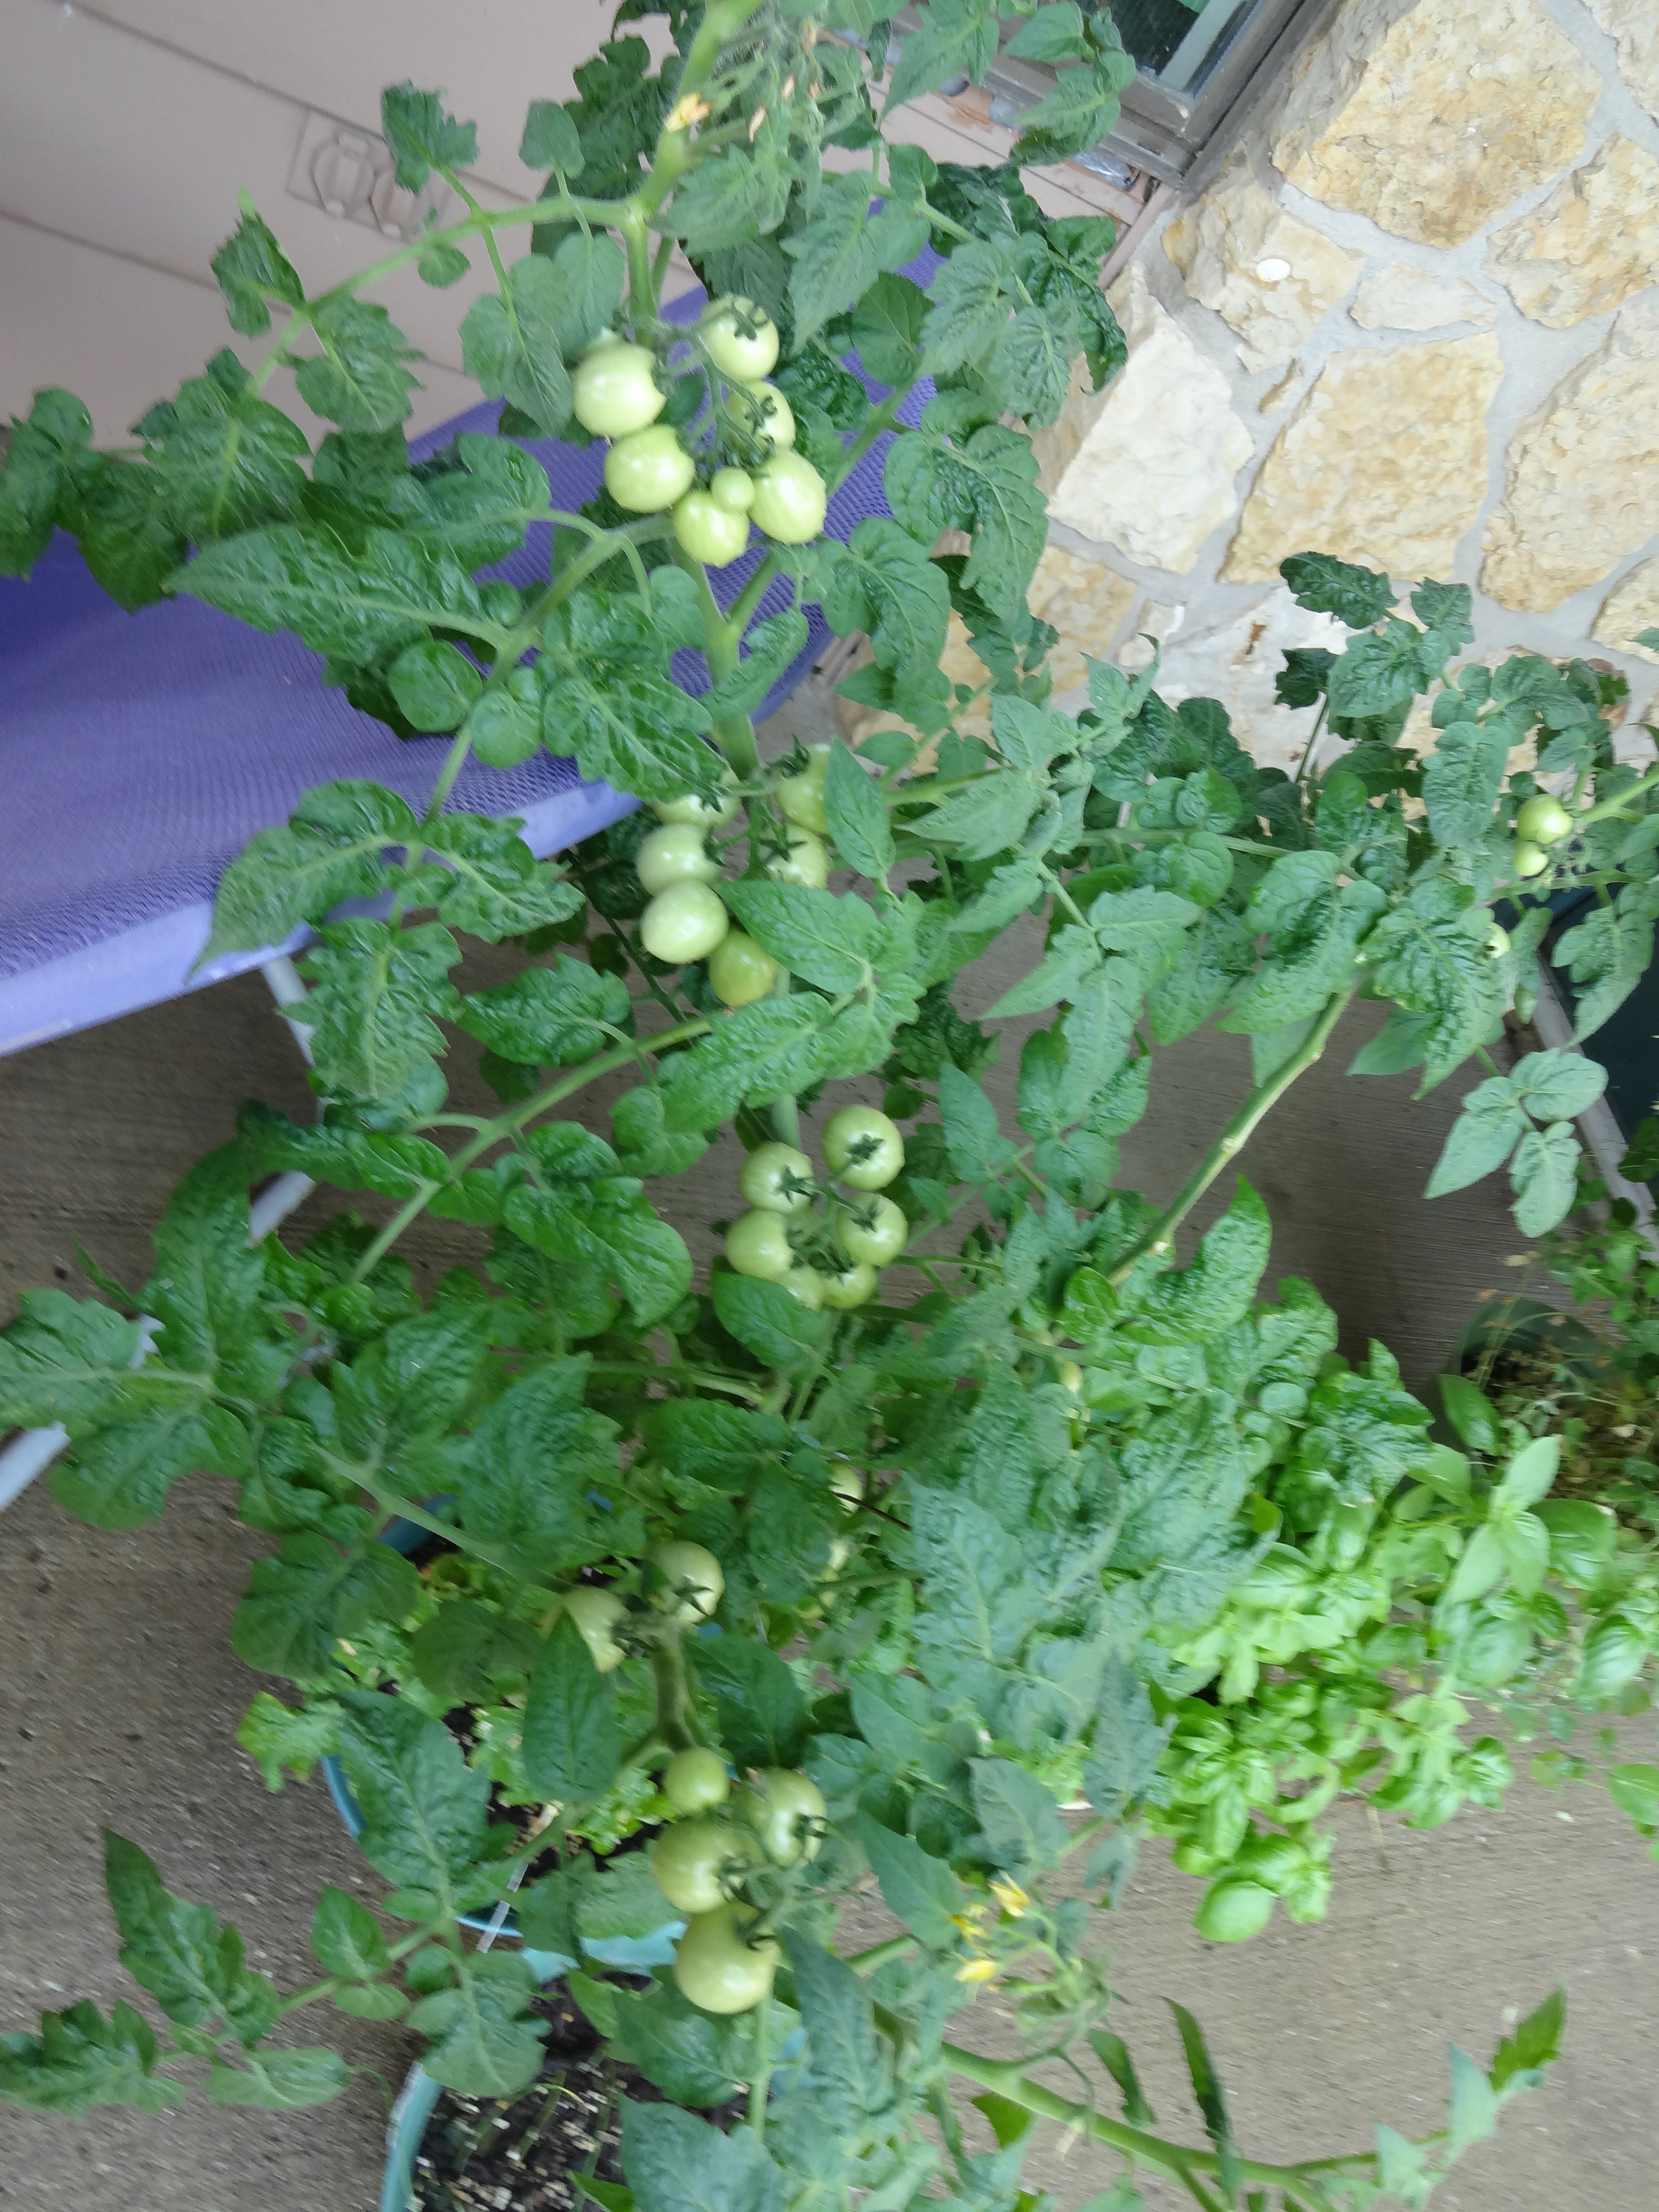
The tomato plant. Oh the tomato plant. Where to even begin. Firstly, it got enormous and couldn’t hold itself up, completely top heavy. So I started with a couple stakes (and by stakes, remember I’m poor and cheap, I mean wire clothes hangers that I bent to work), when it outgrew my stakes, I would up with a super janky rigging. First, I’d like to point out that the landscapers at our building broke one of our branches, which we tied back up and luckily it healed. Storms blew it down. The dog knocked it down. Matt broke a branch by accident, but this thing WON’T DIE. I incorporated the lawn chair, the pot of chives that were, at the time, a complete failure, to anchor it, and various wiring. It’s still alive and producing lots of tomatoes!

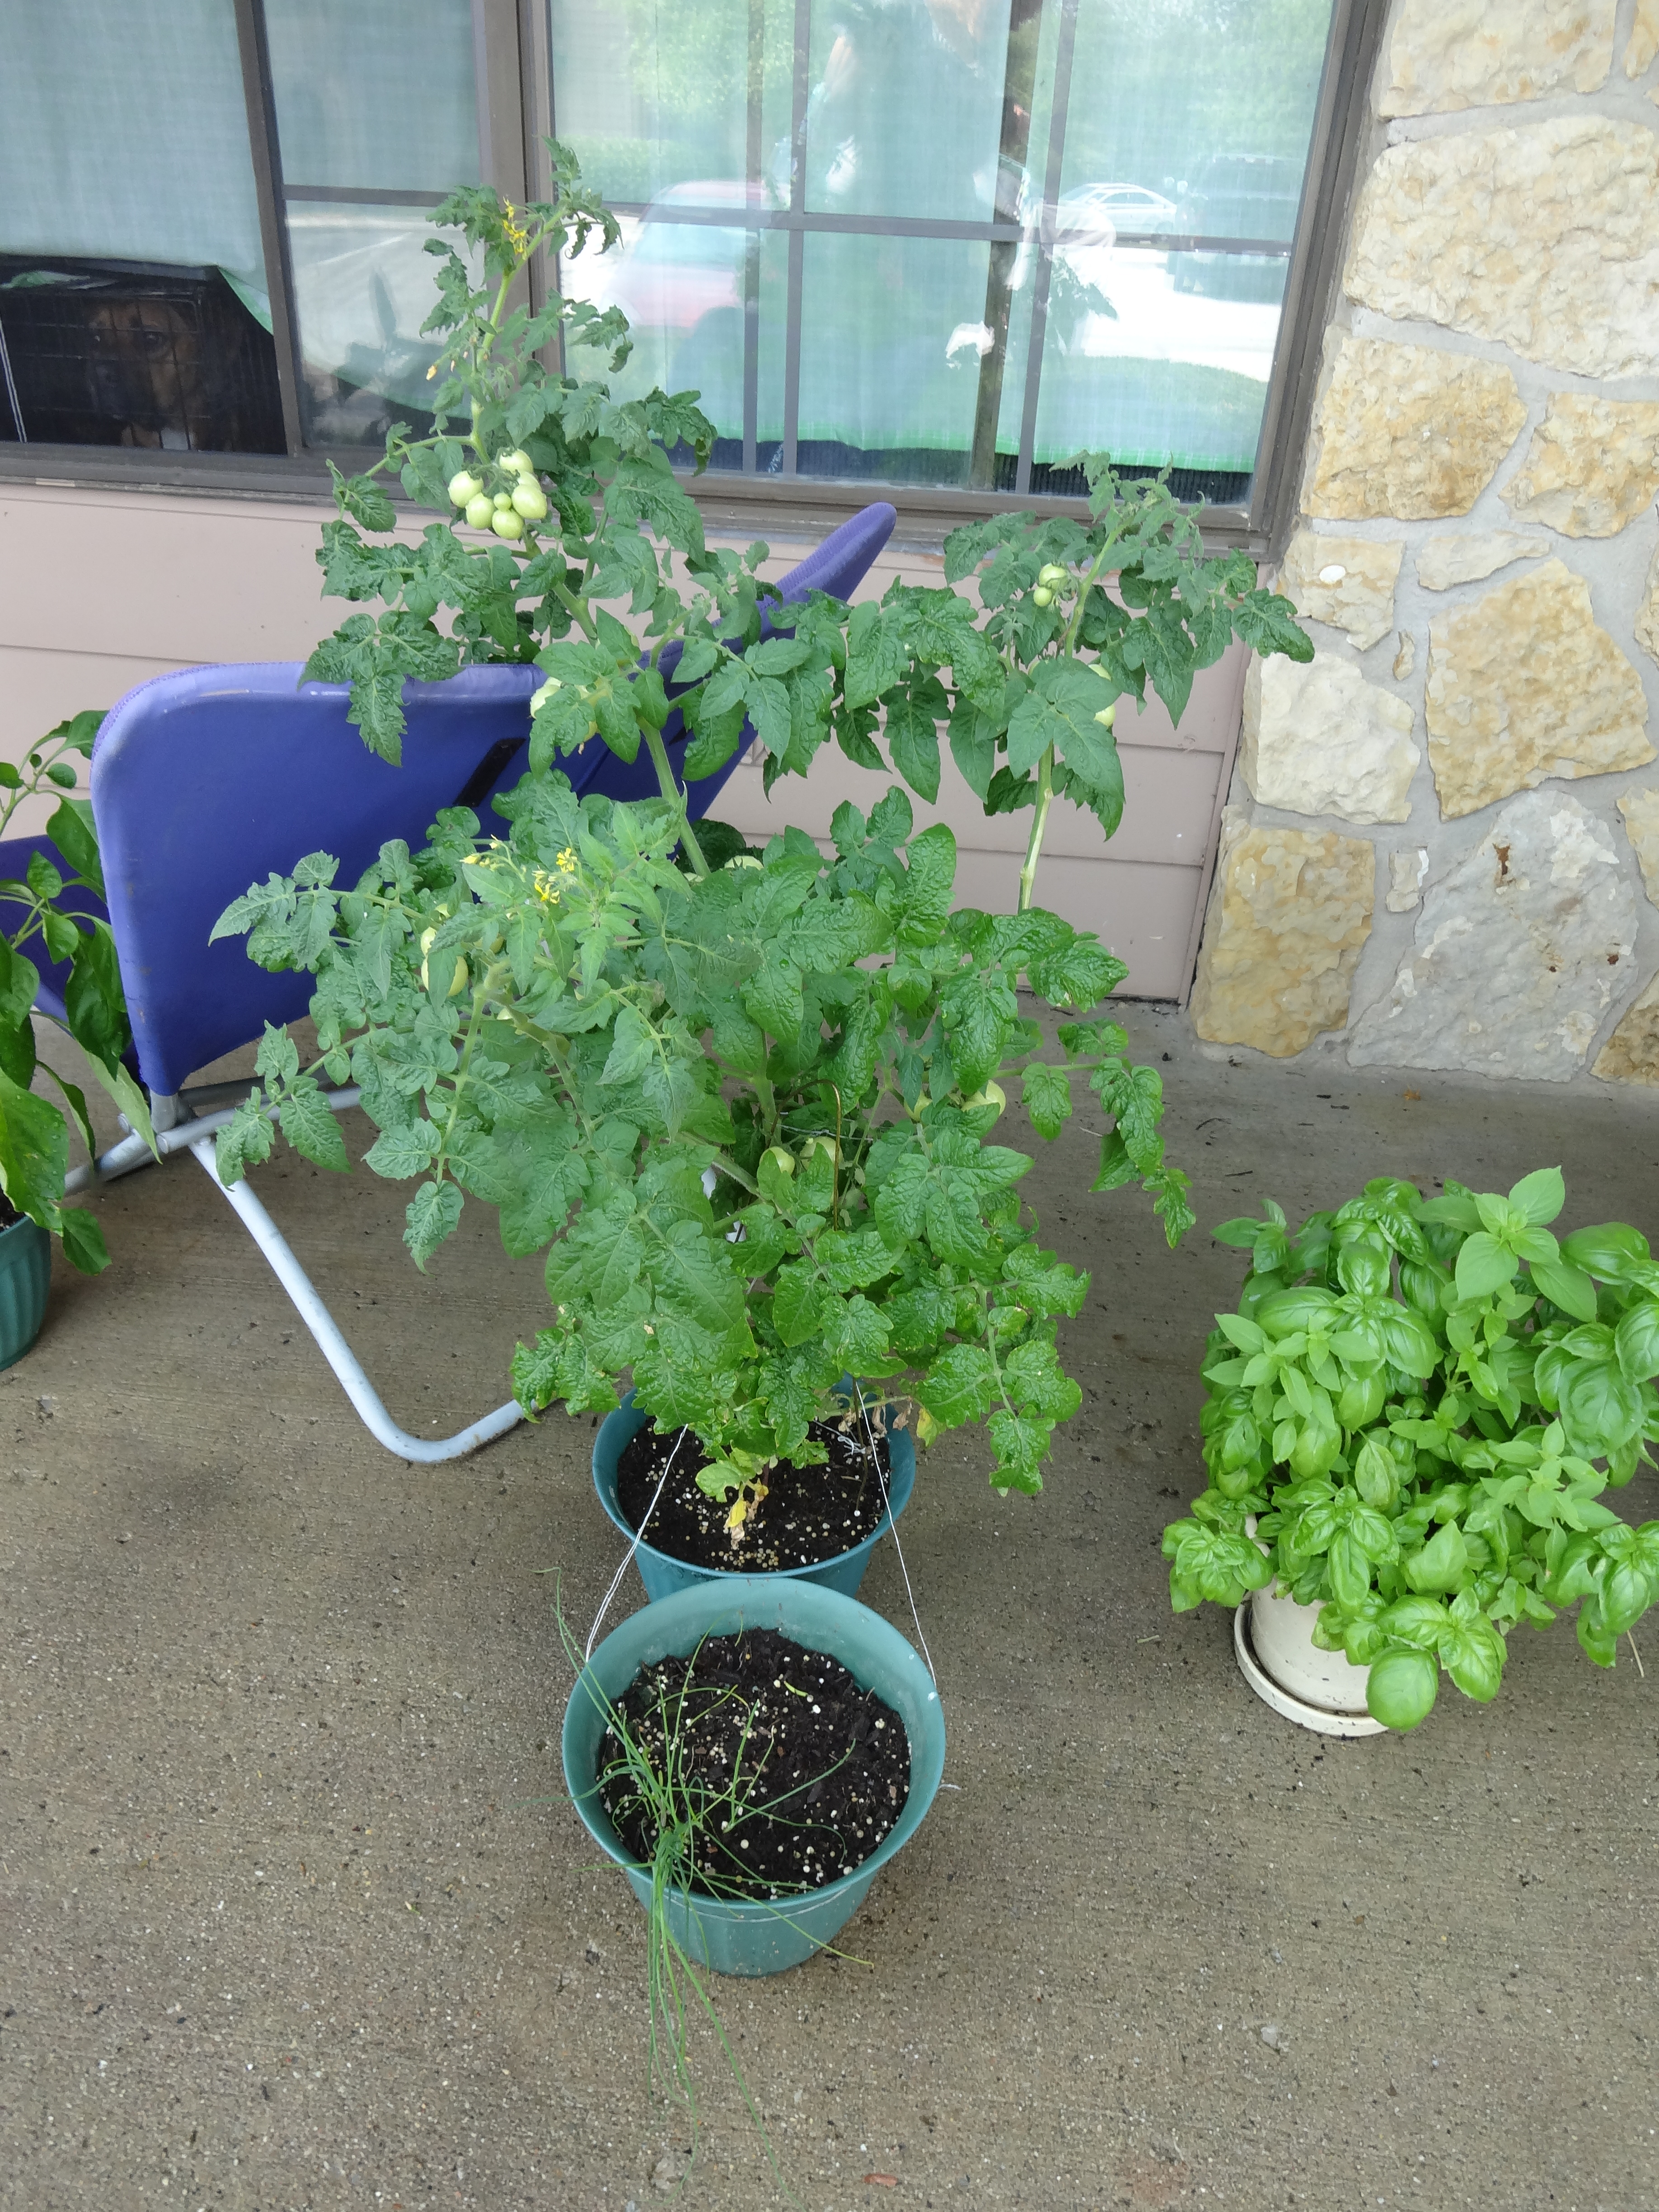
My janky rigging haha
The chives….. sucked. But in the end we wound up with a handful of them, so it wasn’t a total loss.
The basil was awesome! It exploded. This plant just took off and we were using basil in every meal. It was fantastic!
(Tip: you can dry basil in the microwave. Put a large handful between 2 paper towels and microwave 30 sec at a time until completely dry. Crush and store.)

Not a great picture, but you can see the peas in the back there
The snap peas were a little bit of a disappointment. They started great, grew huge, lots of blossoms…. and then it got a fungus that a lot of viney plants get and died 😦
I’ll post the recipe for the stuffed peppers later. Happy gardening!

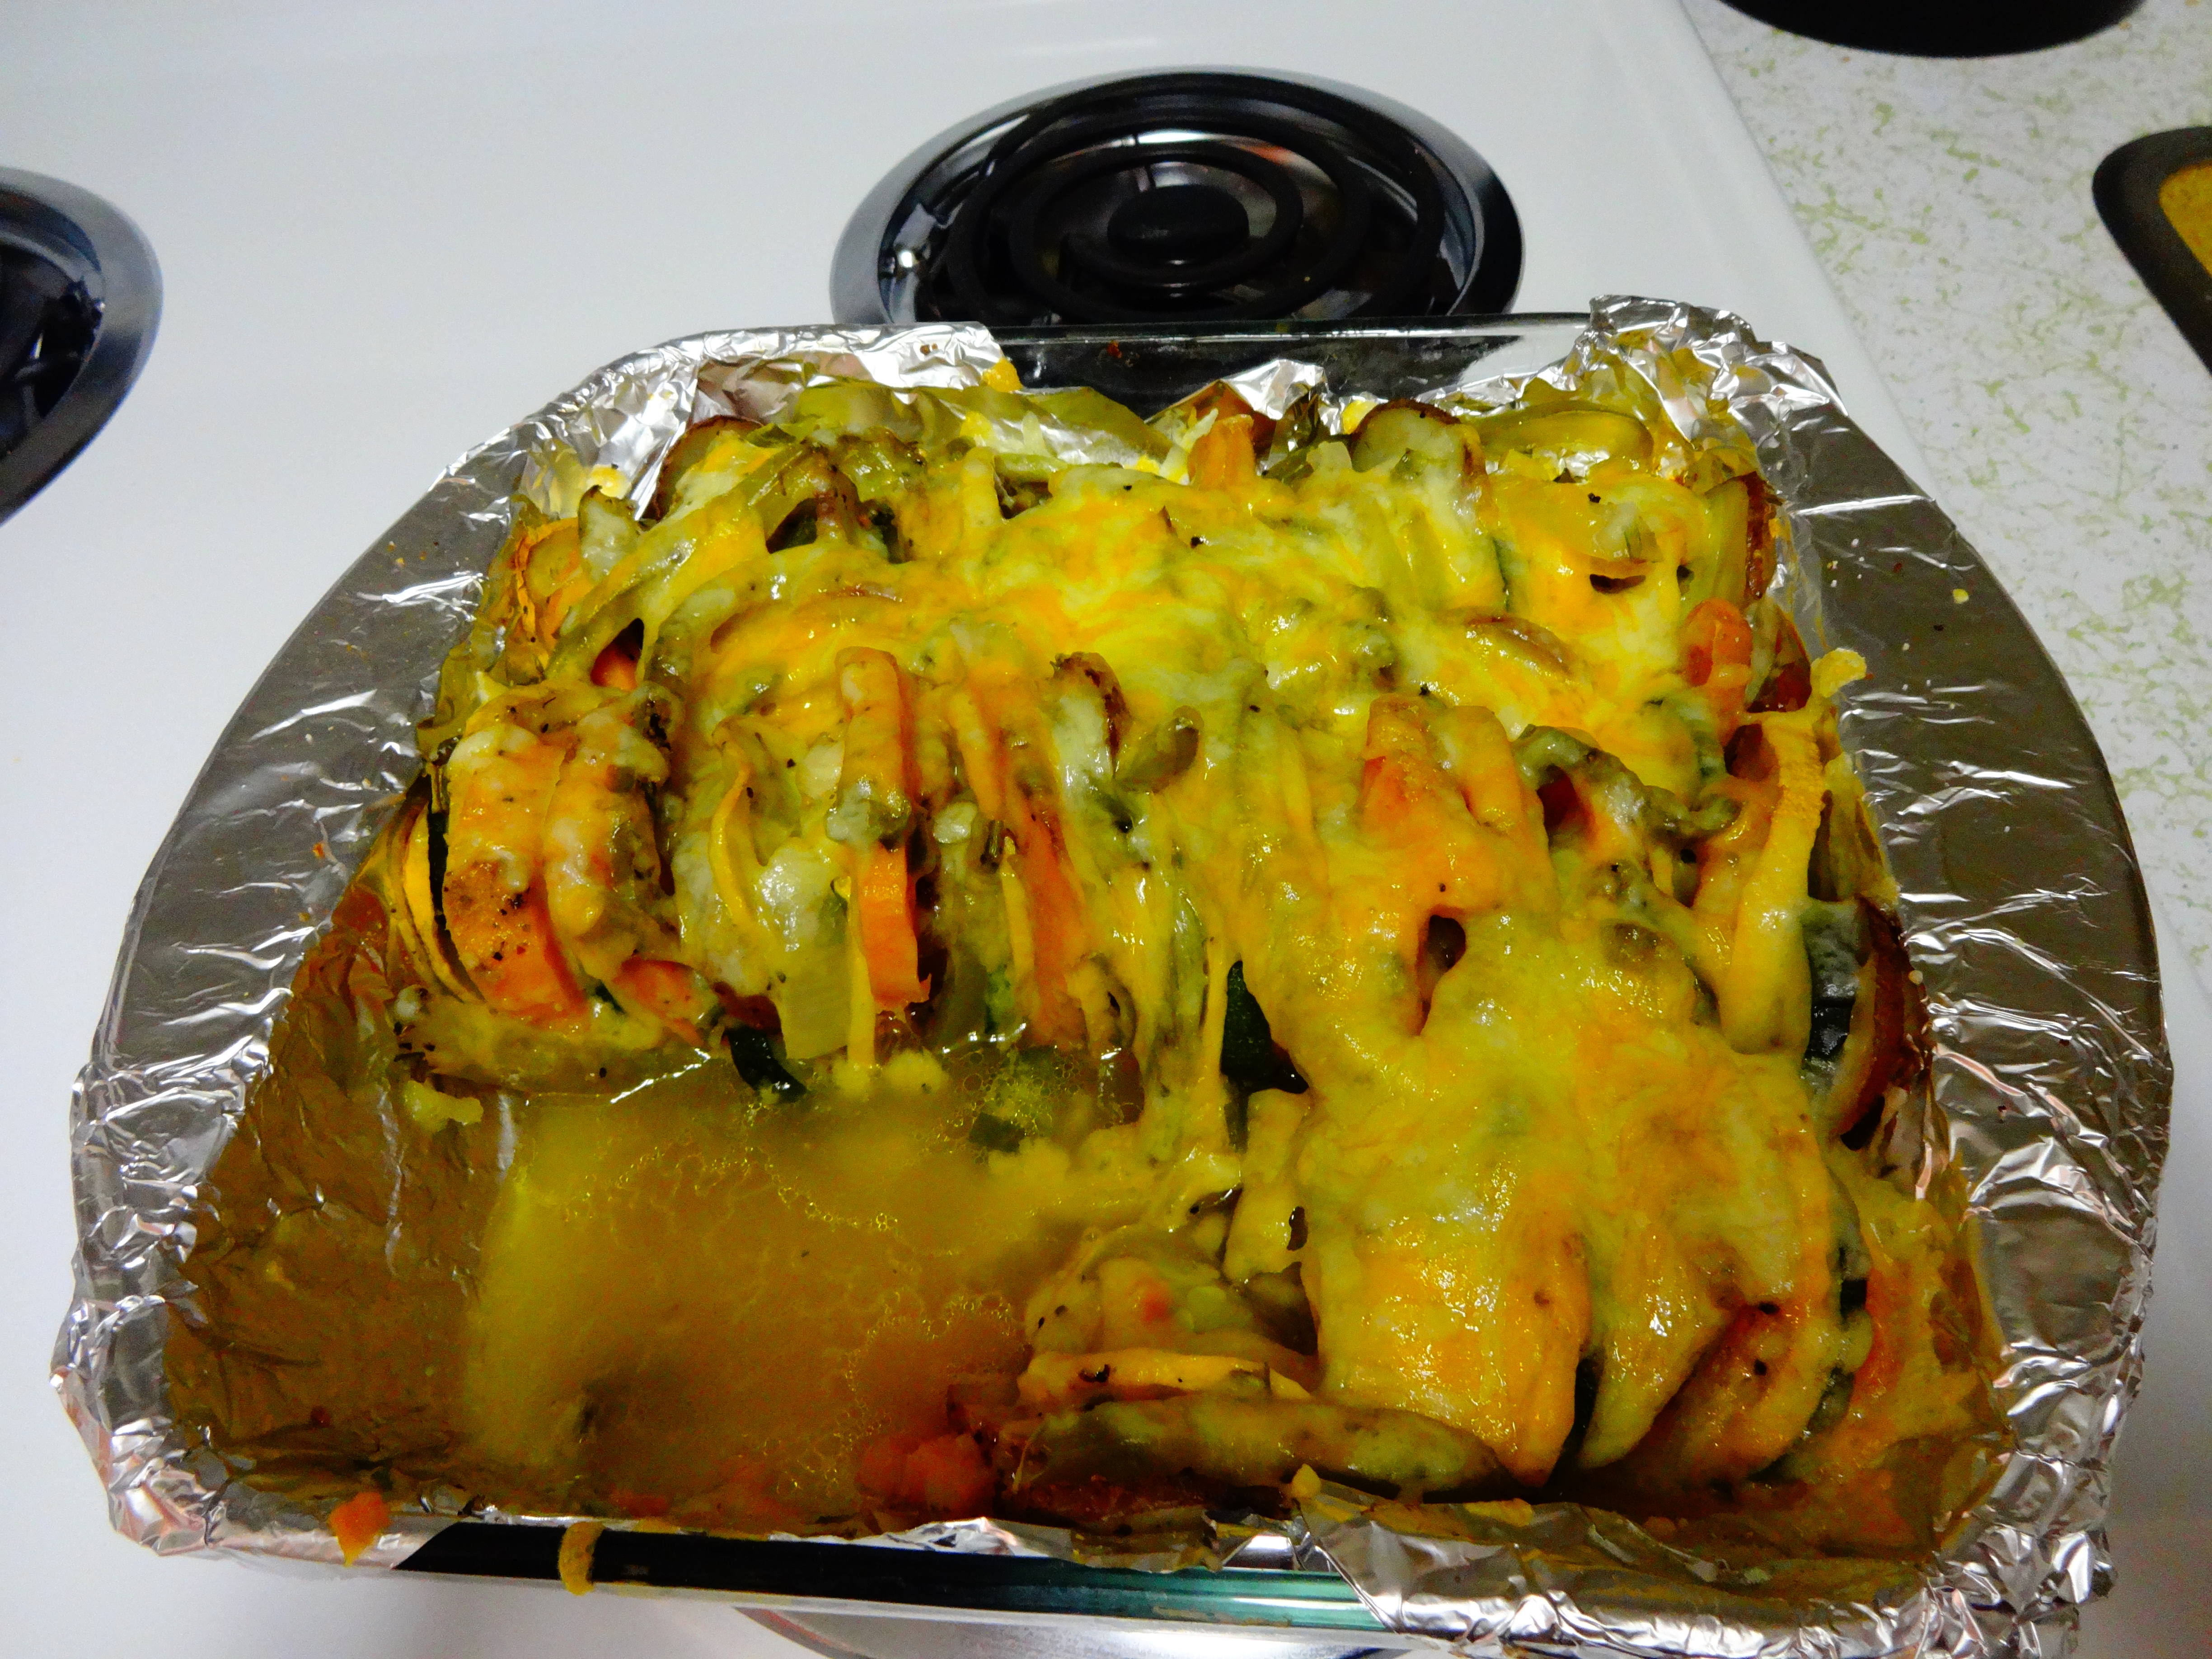
Yummy Stuffed Peppers 🙂